
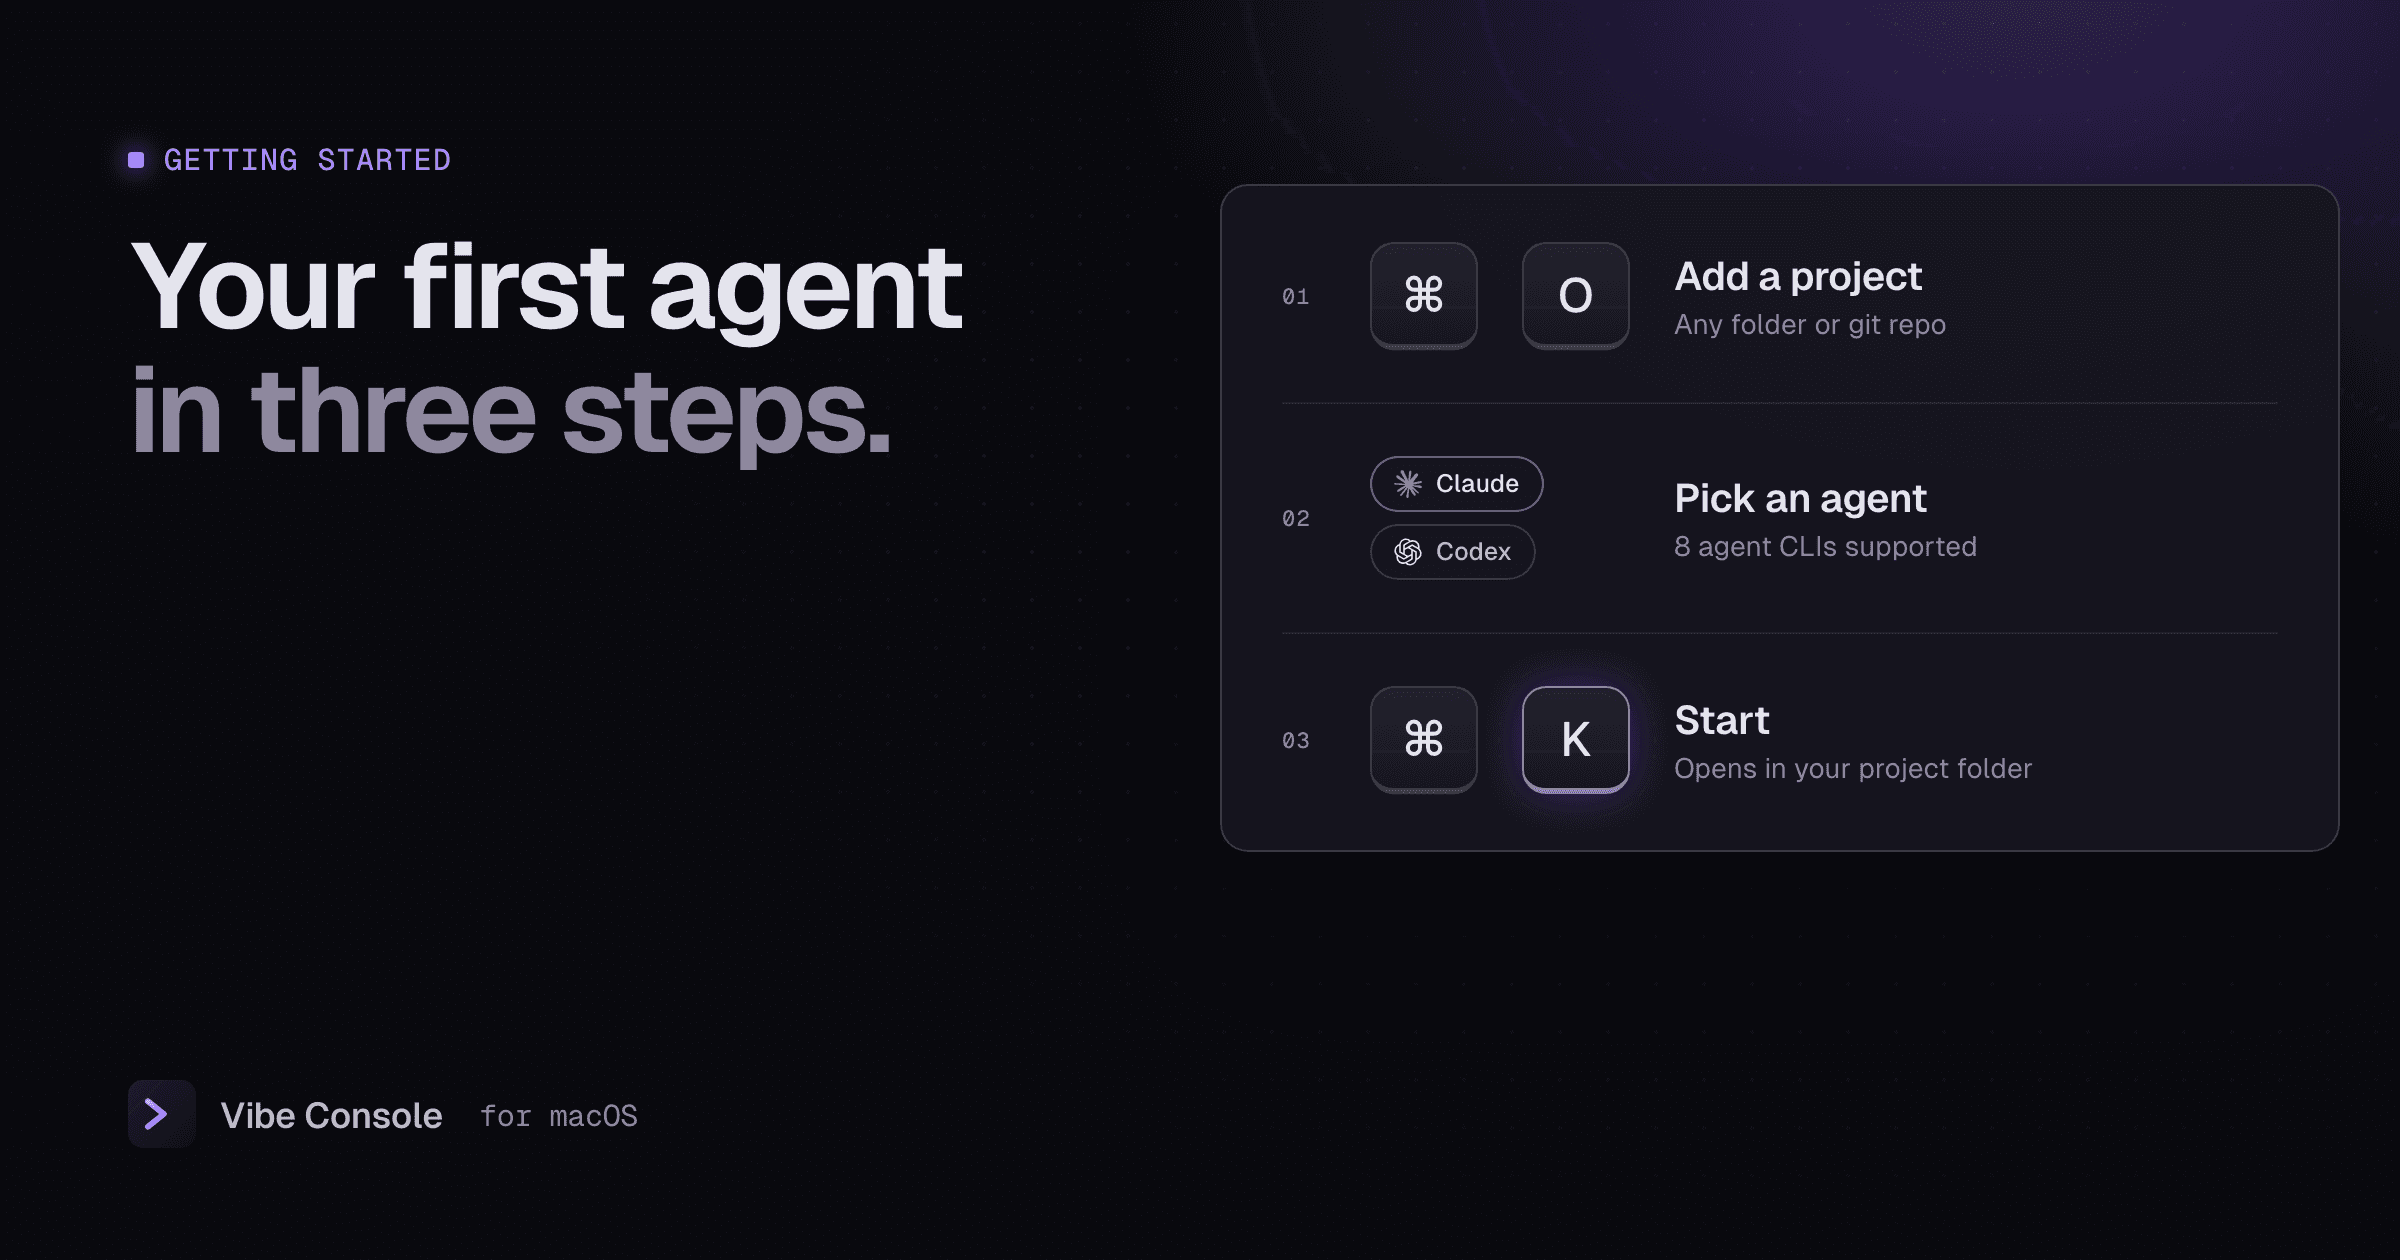
This guide takes you from download to a running agent in a few minutes, then covers the layouts and shortcuts you will use every day.
Requirements
- macOS 15 or later, on Apple Silicon or Intel
- At least one agent CLI installed and signed in (see below)
1. Install Vibe Console
- Download Vibe Console and open the DMG.
- Drag Vibe Console to the Applications folder.
- Open it from Applications. macOS asks once because the app came from the Internet: click Open.
Every download starts with a 14-day free trial with all features.
2. Install an agent CLI
Vibe Console starts the agent CLIs you already use; it does not bundle them or a model. Install and sign in to at least one using its official instructions. These are the commands the app runs for each:
| Agent | Command |
|---|---|
| Claude Code | claude |
| Codex | codex |
| Grok Build | grok |
| Gemini CLI | gemini |
| GitHub Copilot CLI | copilot |
| Cursor CLI | cursor-agent |
| Qwen Code | qwen |
| Kimi Code | kimi |
If you pick an agent whose command is not installed, Vibe Console shows how to install it.
3. Add a project and start an agent
- Press ⌘O (or use the Projects sidebar) and choose your project folder.
- Pick an agent in the picker next to the Start button.
- Press Start or ⌘K.
If the active terminal is an idle shell, the agent starts there. Otherwise it opens in a new terminal, always in your project directory.
4. Set up your terminals
A project can have up to 10 terminals. Press ⌘⇧T for a new one, and use the toolbar to switch between Tabs and Grid. Grid layouts go from 1×2 to 3×3.
A layout that works well for most web projects:
- Terminal 1: Claude Code
- Terminal 2: Codex, reviewing what Claude changed
- Terminal 3: the dev server (
npm run dev) - Terminal 4: the test watcher (
npm run test:watch)
Right-click a tab and choose Rename… to give terminals names you will recognize. Each tab shows a dot for whether its agent is running or idle. For bigger setups, read how to run multiple Claude Code agents in parallel.
5. Give the agent project context
When a project has no context files yet, the file-tree header offers Initialize Context (or Audit Context once they exist). It prepares a prompt in a Claude Code or Codex terminal that has the agent write STRUCTURE.json, PROJECT_NOTES.md and tasks.json. You review the prompt before sending it, and the agent previews each file for your approval before writing. Your own CLAUDE.md and AGENTS.md are left alone.
6. Save the prompts you reuse
Open Saved Prompts with ⌘⇧S and add prompts you type often, like a review checklist. Click one to paste it into the active terminal. Prompts can be global or saved per project.
Keyboard shortcuts
| Shortcut | Action |
|---|---|
| ⌘K | Start the selected agent |
| ⌘O | Add a project folder |
| ⌘⇧T | New terminal |
| ⌘⇧W | Close terminal |
| ⌘1 – ⌘9 | Jump to terminal 1–9 |
| ⌃Tab / ⌃⇧Tab | Next / previous tab |
| ⌘⇧[ / ⌘⇧] | Previous / next project |
| ⌘B | Toggle sidebar |
| ⌘⇧G | Toggle Source Control |
| ⌘⇧S | Toggle Saved Prompts |
Tips for your first week
- Drag files or images from the file tree or Finder into a terminal to paste their paths for the agent.
- Turn on the usage rings in Settings → Accounts to see your Claude Code and Codex limits.
- Browse Skills to add token savers, UI and memory skills to Claude Code or Codex. See installing agent skills.
- Pick your language in Settings → General → Language. Vibe Console is available in 13 languages.
Activate your license
After the trial, buy a one-time $29 license. The key arrives by email. Open Settings → License, paste the key and press Activate. One license covers up to 3 Macs; to move it, press Deactivate on this Mac first. More in Help.